Cross stitch is a truly simple activity, but there are still some tips you should be aware of to make your projects as neat and professional as possible. Here are my 20 cross-stitch tips that you might not know.
Tips before starting your cross-stitch design
1. Wash your hands
It may seem obvious, but we often forget to start our projects with clean hands. Why should you wash your hands before getting started? Well, clean hands will help keep the fabric and threads clean, resulting in a much cleaner outcome. It's the best way to avoid unexpected stains on your project, and it's also more hygienic for you.
2. Measure the fabric from the center
This is a matter of personal preference, but it's advisable to start your project from the center of the fabric because it maximizes fabric usage and minimizes waste. To find the center of your cross-stitch pattern, look for the small triangular arrow symbols you can see on the image below. All cross-stitch patterns have this symbol.

Once you find it on the pattern, you have two options to transfer this point onto the fabric: you can count the pattern's stitches and then count them again on the fabric, or you can measure it in centimeters. Using a cross-stitch calculator is recommended, as it will tell you the size of your project's fabric in centimeters or inches, saving you from counting too many stitches.
3. Secure the fabric edges
I have to admit that this was one piece of advice I found most challenging to follow. When cutting the fabric you'll be working on, you need to secure the edges in some way to prevent fraying. This is crucial because if it happens, you may not have enough fabric left on the edges to finish your project.
Loose threads on the edges can also be quite annoying while stitching, as they can get tangled with your cross-stitch threads. To prevent this, all you have to do is securing the edges to keep the fabric threads in place. The interesting thing about this point is that you don't necessarily have to hem the edges if you don't want to. There are some convenient alternatives, such as fabric glue or heat-activated hemming tapes. In my opinion, these are the best options as they save a lot of time, are simple to use, and cost-effective.
4. Use the correct needle size for the fabric
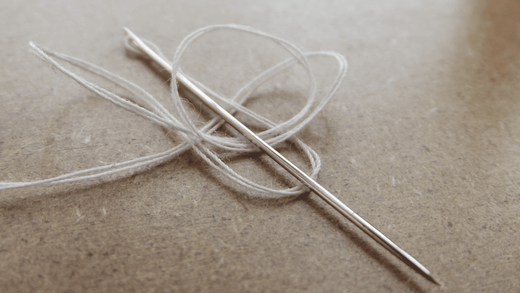
Different needle sizes are available, just like different fabric sizes (which we'll discuss in the next point). This is why it's important to choose the right cross-stitch needle. It's advisable to use a smaller needle size for higher fabric counts. Why? Because the higher the fabric count (meaning smaller squares for making crosses), the smaller the holes in the fabric grid. Conversely, if you're using a fabric with a lower count (larger squares and holes), it's recommended to use a thicker needle.
5. Start with lower aida fabric count
If you're new to cross stitching, this tip is for you. Let's start with the basics: cross-stitch fabrics come in different grid sizes, also known as counts. These counts indicate the number of crosses that fit within one inch (2.54 cm). The most common counts are 14, 16, and 18, although other options range from 6 to 22.
The 14-count is one of the most popular because it's a middle-ground option. It means that there will be 14 crosses per inch (or 2.54 cm), as you can see in the image below.

Knowing this, it's best for beginners to start with lower counts because they have larger grids. This allows for better visibility, fewer mistakes, and quicker adaptation to this type of embroidery.
Tips for the embroidery process
6. Use a sturdy surface
Embroidering your project in mid-air is much more challenging than having it on a firm surface. Without proper support, you'll strain your arms, adopt poor posture, and have a harder time hitting the target with the needle.
You can choose the surface that suits you best, whether it's a work table or simply a cushion on your lap. However, make sure it's at an appropriate height to avoid straining your back. This leads us directly to the next point.
7. Don't forget to maintain good posture
It's common to slouch while doing embroidery, but don't neglect your posture or you'll end up with backaches in no time. In addition to having a firm work surface, make sure your project is at the right height—close to eye level—without hunching your back or straining your neck.
If you can't find the ideal posture to stay upright, consider using other cross-stitch tools, such as magnifying glasses or a magnifying glass. These devices enlarge the field of vision, so you don't have to get too close to the project while maintaining a better posture. Plus, some of these glasses or magnifiers come with built-in lighting, which leads us to the next tip.
8. Use good lighting
Cross stitching is an activity that can strain your eyes without you realizing it. The precision required in cross stitch and the small crosses can sometimes make you lean in too close, straining both your posture and your eyes. To avoid this, in addition to following the previous tips, always remember to illuminate your work area properly. You can use natural light or turn on a lamp near your workspace, or even use special tools like the glasses or magnifiers mentioned earlier. These magnification tools often come with adjustable lighting intensity and color temperature, allowing you to choose between cooler or warmer lighting. Once you try them, you'll find it hard to go back!
9. Cut your threads to the exact length
Getting into the habit of cutting threads to the same length will make your work easier, reduce knots, and make the most of your floss. But what is the ideal thread length for cross stitch? Here's a simple trick that doesn't require a tape measure: take the thread from your fingertips to your elbow. This is considered the ideal length for cross-stitch threads because it's not too long to form knots and not too short, so you don't have to change the thread too often.
10. Make crosses in the same direction
There are various opinions on the best order to make stitches in cross stitch. In my opinion, you can choose the order that feels most comfortable for you, but try to consistently follow that order throughout your project.
11. Use two strands of thread (unless your pattern specifies otherwise)
The standard practice is to use two strands of thread for cross-stitch projects. Using a single strand results in a finer finish where the design may not appear as clearly, while using three strands is often too thick, making it difficult to pass the needle through the fabric holes. However, your pattern may occasionally specify otherwise.
For example, if you're stitching on very dark fabric and need the design to stand out more, you might need three strands. Another possibility is when doing backstitching for certain details; using a single strand can make those details less prominent to ensure they don't overshadow the rest of the threads. In any case, stick to the standard rule of using two strands of thread, unless your cross-stitch pattern indicates otherwise.
12. Use an emdroidery hoop
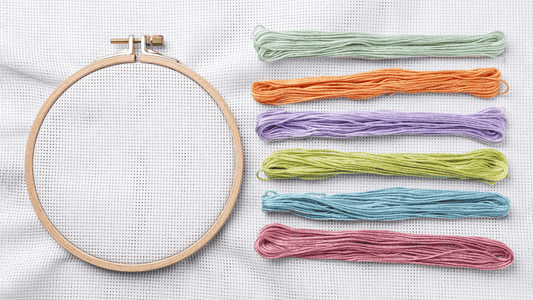
The embroidery hoop was a game-changer for me. While you can embroider on fabric without any assistance, support, or frame, a hoop is such a simple, affordable, and durable tool -there's really no reason not to use it. Hoops consist of two rings that can be tightened or loosened with a screw. Simply place the fabric between the rings, and it will become taut and firm, making embroidery much easier and faster. You can find hoops in craft stores, haberdasheries, or online shops. As mentioned earlier, they are very inexpensive and will last a lifetime. I recommend getting three different sizes: one for smaller details, one for medium-sized projects, and one for larger and more demanding projects. And of course, you can also use the hoop as the frame for your cross-stitch project!
13. Don't stitch too tightly
A common mistake, especially among cross-stitch beginners, is applying too much tension to the stitches. In the quest for perfection, it's easy to make the crosses overly tight, thinking that it will secure them better. However, this isn't the case at all! Your threads aren't going anywhere. It's essential to regulate the tension correctly and avoid over-tightening, as excessive tension can cause the fabric to pucker and create wrinkles and odd shapes in the fabric, ultimately making the final design appear slightly distorted. Try to find a balance, and aim for consistent tension across all the stitches.
14. Divide the work into sections
This is a great tip for larger cross-stitch projects. Get yourself a pencil, a ruler, and a little bit of patience, and mark different sections of the cross-stitch pattern on the fabric. For example, if you're stitching a design that's 1000 x 1000 stitches, you can break it down into sections of 150 stitches each. This allows you to complete each section gradually and makes it easier to count the stitches. To do this, simply decide on the size you want for each section (this is a personal preference), mark each section with a pencil, and start stitching each section one at a time.
15. Double-check your stitch count
One of the most challenging aspects of cross stitching is counting. Counting stitches correctly on the pattern and then recreating them on the fabric is the most crucial part of the project. Making a mistake while counting a single stitch can lead to a cascade of errors that are difficult to fix once noticed. The only solution if this happens is to undo all the stitches made since the error and start over from that point. This can be incredibly frustrating and happens to all of us more often than we'd like to admit. That's why it's important to double-check your stitch count periodically to ensure you're on track. When I say "double-check," I really mean triple check. This way, you'll have confidence that you're proceeding correctly and, in the long run, you'll save time.
16. Let the needle hang with the thread
Every now and then, let your needle & thread hang freely and watch it spin. Doing this occasionally straightens the thread and prevents it from tangling or forming odd kinks. If you incorporate this habit, your embroidery will be easier and quicker, and your project will turn out flawlessly.
17. Use the thread brand you prefer
Although the most popular brands for cross-stitch threads are DMC and Anchor, nothing is set on stone. DMC is the quintessential brand for cross-stitch threads, dominating the market since it was born, back in 1746. DMC's color chart is so widely recognized that cross-stitch and embroidery patterns often use its color references. However, while this brand is usually the favorite, it doesn't have to be yours. In fact, my preferred thread brand is Anchor. Both brands offer vibrant, long-lasting colors and have extensive color charts, but Anchor is known for its particularly smooth threads. To me, the way they glide through the fabric is more satisfying and makes the stitching process easier. Regardless of the brand you choose, you can use a cross-stitch thread conversion chart if needed. What matters most is that you feel comfortable while stitching.
Tips after completing your cross-stitch design
18. Wash your design with care
Once you've finished your cross-stitch design, it's advisable to wash it, but you should do so with care. Handwashing is preferable, using a mild detergent and cold water. This way, you'll prevent the threads from losing color or the fabric from shrinking, which could ruin your design. If you followed tip number 1 (washing your hands before stitching), your work shouldn't have significant stains, so you won't need to scrub to remove stains or major dirt—just wash it to keep it as clean as possible.
If you chose to stitch your cross-stitch design on regular fabric using a water-soluble fabric as a guide, then it's best to follow the washing instructions provided by the fabric manufacturer, as they are ideal for dissolving the fabric.
19. Iron the finished design on the reverse side
After washing, your design may be slightly wrinkled. Before displaying it, it's important to iron it. I recommend ironing it on the reverse side with a protective fabric between the iron and the design. This will prevent damage to the threads and avoid any potential issues if the iron isn't perfectly clean.
20. Show off your design
We're all set! Now all that's left is to proudly display your design. Choose a spot for it and frame it with care, then show it off. It's a boost to your self-esteem and the best way to motivate yourself to start your next project!
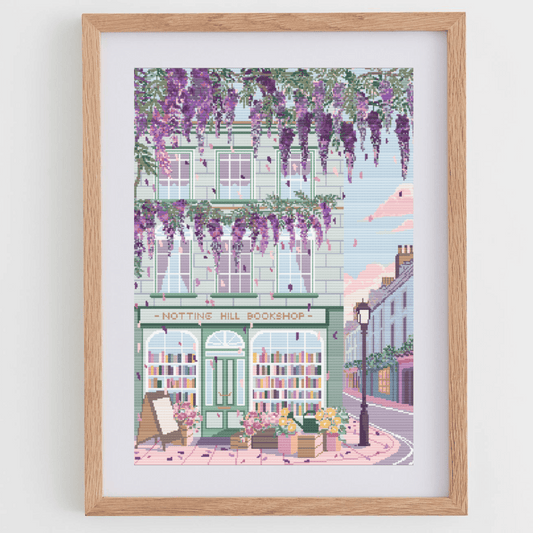
Are you already thinking about your next cross-stitch design? Take a look at The Fresh Cross Stitch's cross-stitch patterns and find your next favorite project!
