Cross stitch is as simple as it can get. Nevertheless and regardless of being an experienced stitcher, you might be asking yourself questions like “is there a right or wrong order to do cross-stitching?”, “which order should I make the crosses?”, or “why does the back of my project look so different from others?”. All of these questions are related, and there are different answers to all of them. Let’s cover them one by one!
Which order do you make the crosses in cross-stitch?
Let’s start with the basics: cross-stitch is a form of embroidery that consists of making designs out of small crosses. Even if this is a really ancient and simple technique, it’s normal to consider if there is a right order to make those crosses or even if there is a way that is more efficient and saves some thread.
There are two main ways to make a cross in cross-stitch (with slight variations in each one): the Danish approach and the English approach.
The Danish approach: completing rows and columns
For those who appreciate order and logic, working in rows or columns might be the preferred strategy. This approach entails completing rows or columns, first in one direction, then towards the other one. This type of process is called the Danish approach, and its backside looks quite tidy, presenting horizontal lines.
In the picture below you can see how to follow the Danish approach. As you can see, you will move following a row by completing half of the crosses from left to right. Once the row is half finished, you move from right to left, completing all the crosses. This example shows how to move in a row, but you can follow the same procedure by working in columns.

In my personal experience, the Danish approach is the most popular one. As I found out in different surveys, chats, and real-life conversations, this is the preferred system by cross-stitchers all over the world. However, it’s not the only option. Keep reading!
The English approach: completing a cross before moving to the next one
For those who prefer to finish each cross before moving to the other one, there’s the English style. In the picture below you can see how to follow the English approach, but it’s not the only one, as you can change the order and direction of cross stitches. In this case, a full cross has to be completed before moving to the other one.

This system is less tidy than the Danish approach, and therefore the backside may look messy because the cross-making is less homogeneous, and you may move horizontally or vertically. But it has its pros too — for instance, when you are making a complex cross-stitch project that includes both cross stitch and half stitches, it will be less confusing to complete each cross so you don’t mix the stitches.
Personal preferences
The right or wrong order to cross stitch a matter of personal preferences. As you have seen, each approach has its pros and cons, and there’s no reason why you should switch from one to another, aside from personal preference.
In which order should I tackle my cross-stitch project?
Apart from considering the order of the crosses, we can also consider what’s the right order to tackle a cross-stitch project. Should I move from left to right? Or maybe cover larger areas first?
Starting from the center
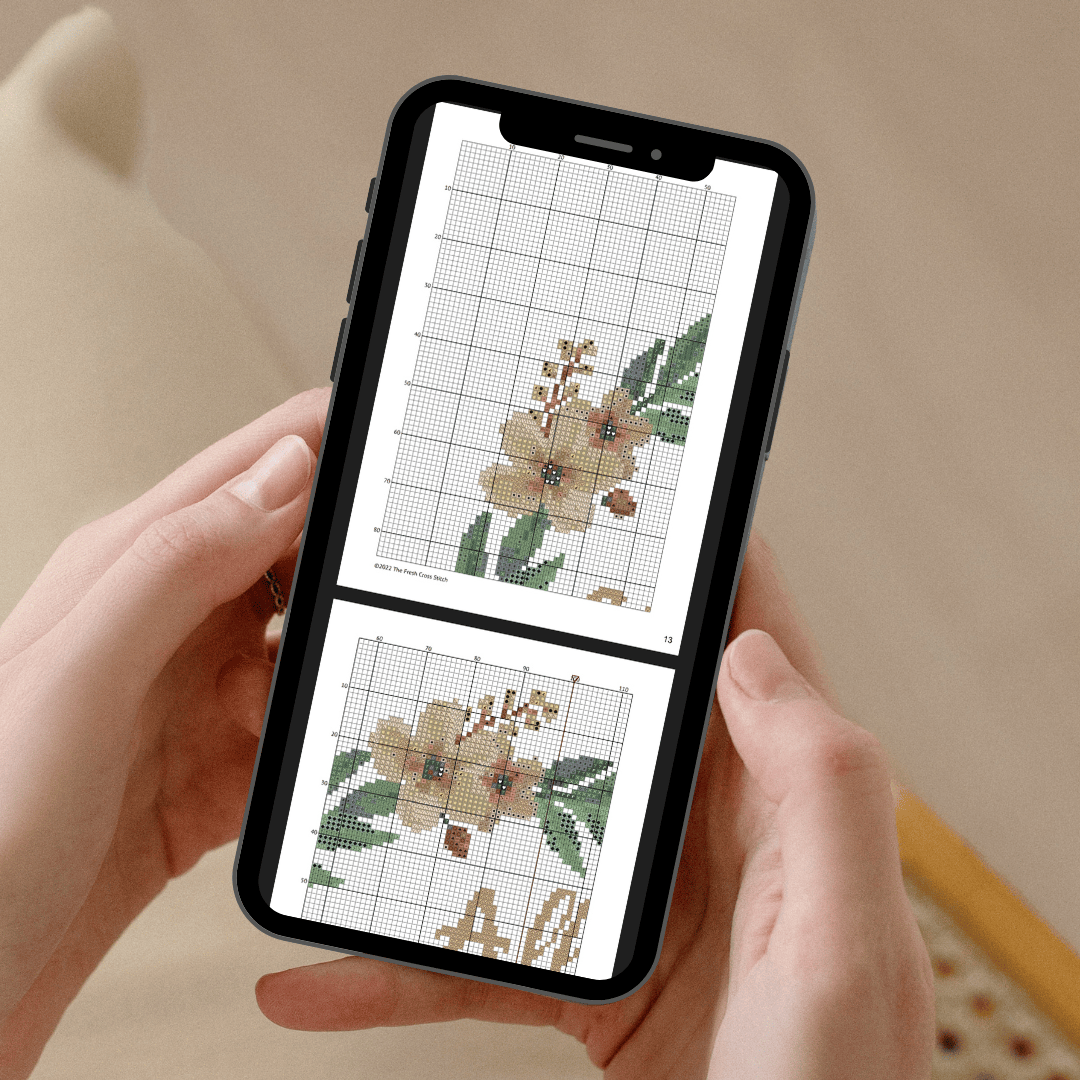
In theory, you should start your cross stitch from the center. A good cross-stitch pattern should present a little arrow in the form of a triangle that marks the center of the design. You can see an example of this arrow in the picture below.

Following this method is recommended because it will help you measure the fabric you need and make sure you don’t encounter an unpleasant surprise as you complete the pattern. By beginning at the midpoint, you reduce the risk of running out of space or misjudging the placement of your stitches as you progress. However, this is not the only method there is.
Covering large areas of color first
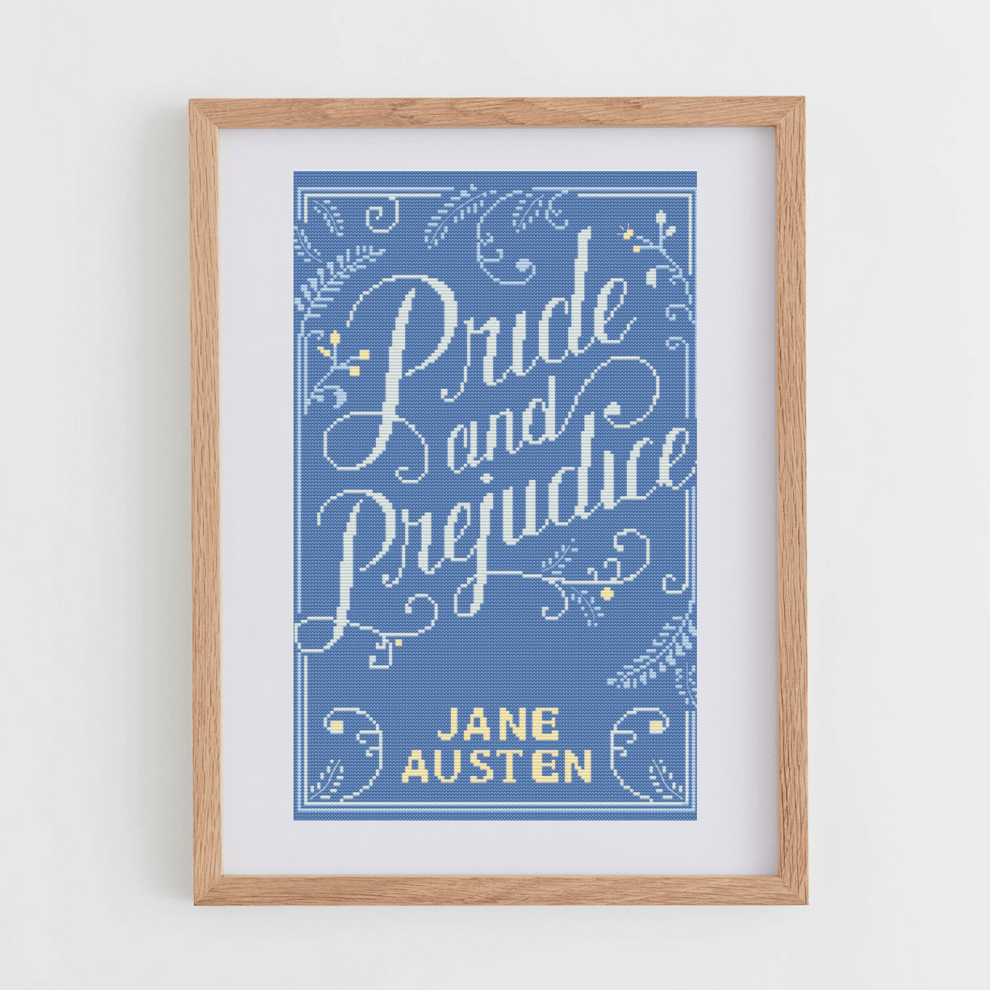
Another good and reasonable option is to start by completing a large area of a specific color. And note this option isn’t incompatible with the previous one! Let’s take a cross-stitch pattern from The Fresh Cross Stitch as an example.
In this design, you can see there is a huge area of blue color that covers most of the design. In this particular case, you might want to start by tackling this large area, and then keep moving with smaller areas of color. As I said, this option isn’t incompatible with starting from the center. It is still possible to follow this strategy and start from the center of the design, but it’s not necessarily the case.
Starting from the upper-left side
Starting a cross-stitch project from the upper left corner is a common and entirely valid approach. While the center-out method is often recommended to ensure symmetry and balance, it's not a strict rule. Many cross-stitchers prefer beginning in the upper left corner for various reasons.
One of these reasons is considering the type of design. Some cross-stitch patterns may have elements that make more sense to start from the upper left corner. For example, if your design includes a text, it might be less confusing for you to complete the text as you write, from left to right (in most cases).
By starting in the upper left corner, you also minimize the risk of miscounting and miscalculating the placement of stitches. This can be especially important for beginners or for projects with intricate details.
Personal preferences
Again, this decision is solely yours and it depends on your personal preferences and the characteristics of the project. Some cross-stitchers find satisfaction in completing specific colors or sections before advancing, while others relish the structure of a center-out or row-by-row approach.
I personally think it never hurts experimenting with different methods to discover what resonates with you, regardless of being a beginner or a pro, and find the options that enhance your overall enjoyment of the craft. We’re here to have fun!

