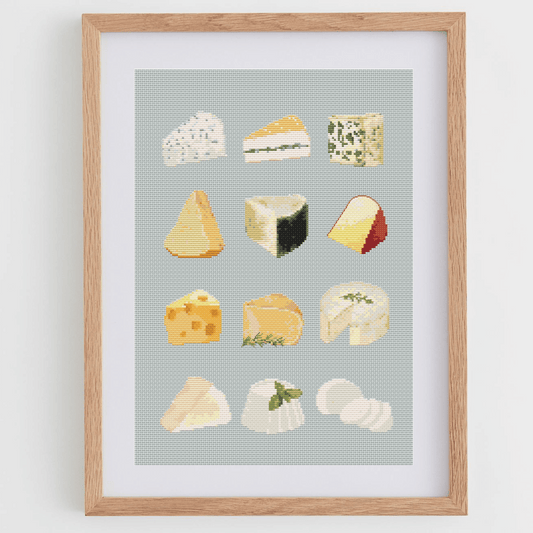
Although cross stitch is one of the simplest forms of embroidery, there are several stitches and techniques you should know before tackling a cross-stitch pattern. Of course, the cross stitch is the main stitch, but I want to introduce you to other types of stitches used in cross stitch and explain how to make them.
1. Basic cross stitch
The basic cross stitch is the heart of this technique and gives its name to this type of embroidery. It consists of small crosses stitched on the fabric in the shape of an "X," following the grid pattern of the fabric.
There is no strict order for making the crosses in cross stitch; you can follow whichever technique works best for you. However, most stitchers prefer the Danish method, which involves stitching a whole line of diagonal stitches from left to right and then returning in the opposite direction to complete the "X.
If you're just starting with cross stitch, don't worry! You can learn how to read a cross-stitch pattern from scratch with this simple guide full of examples.
How to make the basic cross stitch:
1. Insert the needle from the bottom of the fabric to the top in one corner of a square (for example, the bottom left corner).
2. Pull the needle toward the opposite corner of the square (upper right corner).
3. Repeat in the opposite direction to complete the "X."
This stitch is used to fill the main areas of the design and is the most common one you'll find in cross-stitch charts.
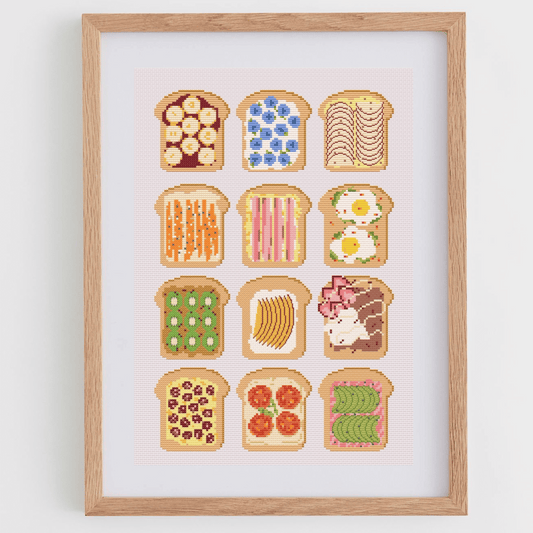
Here you have an example of a cross-stitch design that uses only basic cross stitch:


2. Half cross stitch
The half cross stitch, also called a half stitch, is a simplified variant of the full cros stitch. It consists of just one diagonal that would form the complete "X." This stitch is used for stitching small details, such as shadows or outlines, as it helps create smooth transitions between colors and define some shapes.
How to make the half cross stitch:
1. From the bottom left of the square, bring the needle up to the upper right, creating a diagonal line.
This stitch is quick to do and provides a lighter texture.
Here you have an example of a half stitch included in a cross-stitch design. The half stitch is used to fade out the green leaves, creating a beautiful and realistic shadow:
3. Quarter cross stitch
The quarter cross stitch is a stitch used to create even more precise details in a design. Unlike the full cross stitch, this stitch covers only a quarter of a square on the fabric, allowing for more intricate outlines, curves, or finer details. As you might imagine, it’s a small and precise stitch, so it’s a bit more challenging than the full cross stitch—but not impossible!
How to make the quarter cross stitch:
1. Insert the needle into the center of one side of the square.
2. Pull it to the center of the square or to the midpoint of the next side.
This type of stitch is common in more complex and detailed patterns that require sharp outlines or subtle color changes.
Here you have an example of a design with quarter cross-stitch design. The quarter cross stitch is used to fade out the borders of the animal, along with half stitches:


4. Three-quarter cross stitch
The three-quarter cross stitch is a combination of the half stitch and the quarter stitch. It's used to complete more intricate details where a quarter stitch isn't enough, such as borders or transitions in designs with angles or curved shapes.
How to make the three-quarter cross stitch:
1. Make a half stitch in one direction.
2. Complete a quarter stitch in the remaining corner of the square.
This stitch provides greater definition in areas where a full "X" would be too large for the necessary detail.
5. Backstitch
The backstitch, also known as a linear stitch, is a technique used to create defined outlines and fine details around a cross-stitch design. It is especially useful for outlining stitched areas and making certain parts of the design stand out.
How to make the backstitch:
1. Insert the needle into the fabric and move it forward along the contour line you’re stitching.
2. Bring the needle back a space to complete the line.
This stitch is perfect for adding details such as facial contours, letters, or borders.
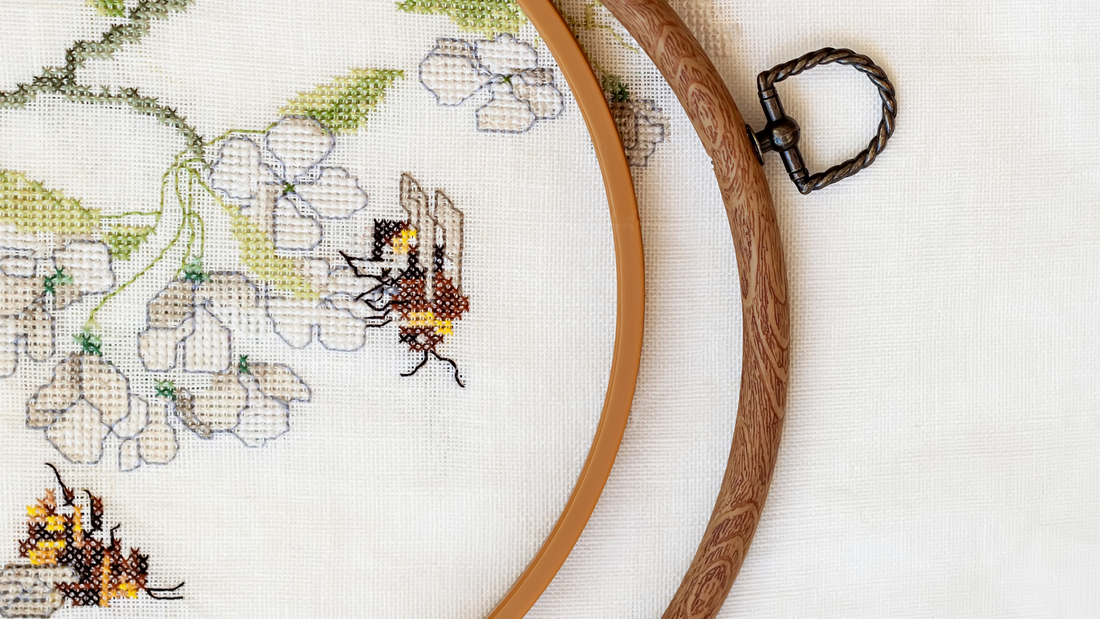
Here you have an example of backstitch included in a cross-stitch design. The backstitch is used to define the flowers and some parts of the bees:


6. French knot
The french knot is a decorative stitch used in cross stitch to add three-dimensional details, such as flower centers or buttons. Although it may seem intimidating at first, it's an easy stitch to master with a little practice. It’s more common in embroidery patterns, but you may also find it in cross stitch, where it adds a special touch to designs. It’s definitely worth learning!
How to make the french knot:
1. Bring the needle up from the bottom of the fabric to the top.
2. Wrap the thread around the needle once or twice.
3. Insert the needle close to where it came out, but not in the exact same hole, and gently pull to form a knot.
This stitch adds dimension and texture to embroidery by creating a small bump on the fabric.
Here you have an example of French knot included in a cross-stitch design. The French knot is used to add dimension to the flower:


Other less common stitches you might find in cross stitch
- Sashiko stitch. The Sashiko stitch originates from Japan and is used to create repetitive patterns. Although it's not exclusive to cross stitch, it can be integrated into cross-stitch designs as additional decoration. It’s a long stitch that forms continuous lines and can create an interesting effect in the embroidery. This stitch is ideal for creating geometric repeating patterns.
- Honeycomb stitch or herringbone stitch. The honeycomb stitch, also called the herringbone stitch, is a decorative stitch used to add intricate and textured details. It resembles small, interlocking "V" shapes. This is a more advanced stitch, but its use can make a cross-stitch piece really stand out.
- Running stitch: The running stitch is very similar to the Sashiko stitch and is used to trace long, simple lines. It’s ideal for adding soft contours and continuous details that don’t require the precision of backstitch. This stitch is also commonly used in larger and simpler embroideries.
- Star stitch. The star stitch is a decorative stitch that creates a small star or flower-like figure. It’s used to add accents or small, repeating details, like stars, snowflakes, or tiny flowers. This stitch adds a unique touch to cross-stitch designs.
General tips for cross-stitch stitches
Here are some cross-stitch tips you might not know, which can help improve your embroidery technique:
- Thread tension: Always maintain consistent tension in the thread to avoid loose or overly tight stitches. Failing to do this can result in waves and wrinkles in the fabric.
- Alignment of the crosses: While you can stitch in any order, it’s recommended to make sure all the crosses follow the same pattern of direction. This way, the final result will be uniform and clean.
- Follow the pattern, but allow for creativity: It’s best to follow the stitches as indicated in the pattern and be cautious if you want to change any color. You can be creative and adapt the pattern to your needs, but keep in mind that the final result may not be as expected.
- Practice and patience: Some stitches may require a little practice, but patience is key to mastering the art of cross stitch.
As you can see, cross stitch is a very simple technique, as it’s mostly about making small "X" shapes on the fabric. Whether you're a beginner or just starting out with this type of embroidery, there’s nothing to fear. It’s an easy hobby to learn, and you'll find it relaxing and enjoyable. There are countless reasons to learn and love cross stitch! Plus, if you're just starting out, in my blog you’ll find tons of articles on how to cross stitch from scratch.
So get your needle, thread, and fabric ready, and start stitching!
