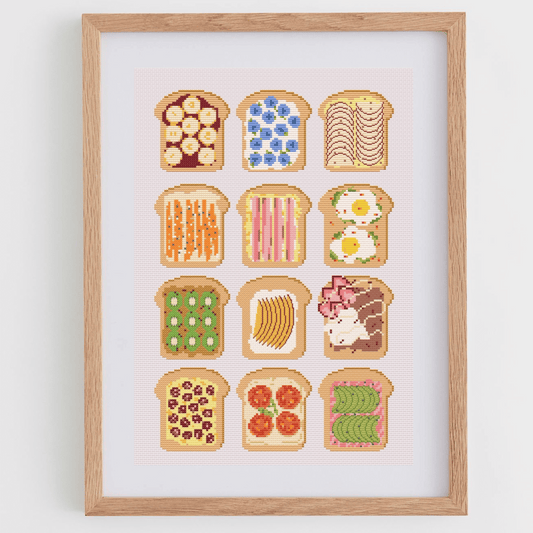
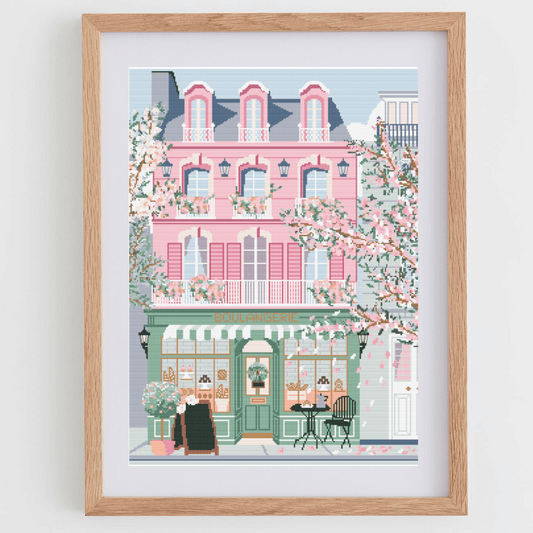
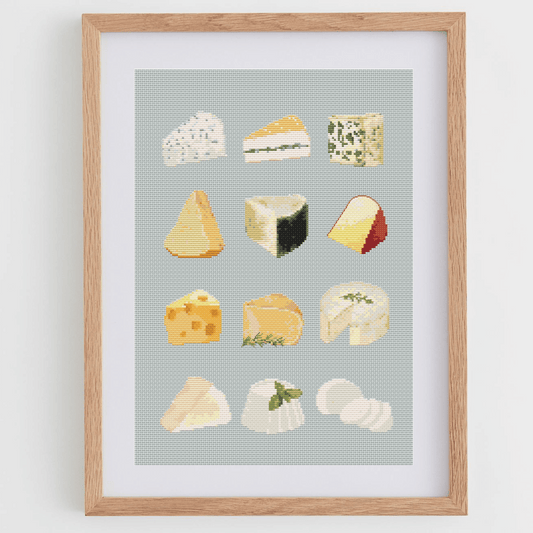
Cross-stitch is an embroidery technique that involves following a pattern to create designs with threads on fabric. Cross-stitch patterns may seem complicated at first, but once you learn how to read them, they become an invaluable guide for your projects. In this article, I will explain step by step how to read a cross-stitch pattern so you can embark on your projects with confidence.
1. Familiarize yourself with the symbols
Cross-stitch patterns use a series of symbols to represent thread colors and specific stitches. Before you start reading a pattern, make sure to have a symbol legend or key on hand. This legend will show you which symbol corresponds to each thread color and what type of stitch should be used.
2. Use the color code
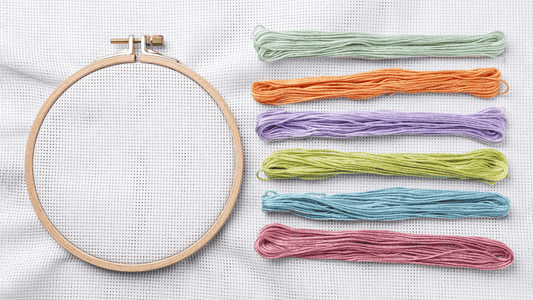
In addition to symbols, cross-stitch patterns include a color code to help you identify the threads you need to use. Each symbol or color in the pattern will be associated with a corresponding number or letter in the legend. Use this reference to select the appropriate threads before you start stitching.
The codes of the colors correspond to a particular brand. Normally, the most popular brand to appear in cross stitch patterns is DMC. If you prefer to use a different thread brand, like Anchor, your can check this DMC to Anchor conversion chart.

3. Identify the center of the pattern
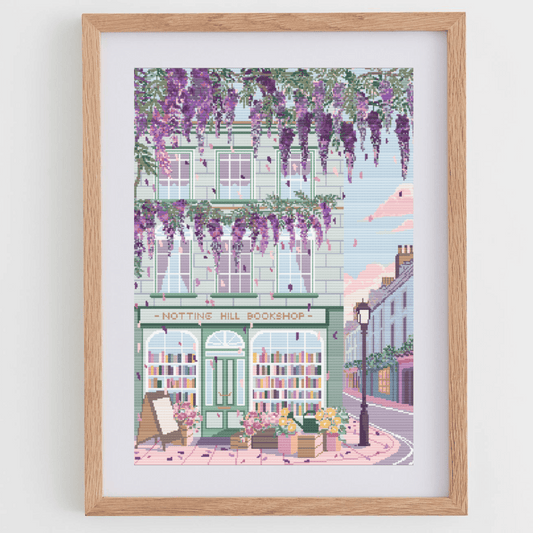
Most cross-stitch patterns have a central point that helps you align your design correctly on the fabric. Look the small arrows in the shape of a triangle that indicate where the center is, as you can see in the image above.
You can start stitching from the center to ensure your design is well-balanced, but this is not the only option. As a matter of fact, this is more of a personal preference, as there is no right or wrong order to do cross stitch. You do you!

4. Count the stitches
Cross-stitch is all about counting accurately! This can be the trickiest part, as a counting mistake can lead to a cascade of errors that are difficult to fix. Cross-stitch patterns are composed of a series of squares or grids that represent the cross stitches on the fabric. Each square in the pattern corresponds to one stitch on the fabric. Use your eyes, a pencil or marker or a cross stitch app to track the squares on the pattern as you progress in your stitching. This will help you maintain accurate counting and avoid mistakes.
5. Follow the lines and symbols
In addition to squares, cross-stitch patterns also have additional lines and symbols that indicate how the cross stitches should be positioned in relation to each other. The lines may represent borders, outlines, or additional details in the design. Symbols like arrows or numbers will guide you on the direction of stitches or the order in which you should work in certain areas.
6. Divide your work into sections
Some cross-stitch patterns can be quite large and complex. To make the process easier, you can divide your work into smaller sections. Mark off completed areas on your pattern as you finish them to give yourself a sense of accomplishment and to avoid confusion while tracking your progress.
7. Be patient and practice
Reading a cross-stitch pattern may require some practice and patience in the beginning. Don't get discouraged if you feel confused at first or make mistakes. As you gain experience, your projects will improve over time. Keep practicing and reading my cross stitch for beginnners section, and enjoy the journey of creating beautiful cross-stitch designs.
If you're curious about how my patterns look, you can download free cross stitch patterns from my website. You will be able to download them for free so you can have an idea and start practicing!
